

Overview
Green screen compositing gives you full control over how and where a LemonSlice avatar appears in your application. Rather than a fixed rectangular video frame, the character can be placed over a dynamic landscape, layered into a product UI, floated transparently over slides or web content, or composited against a generative background that reacts to the conversation. LemonSlice generates the avatar against a solid lime-green background, and your browser removes the green in real time using a chroma key shader. WebGL makes it straightforward to replace the green background in real time, right in the browser — a fragment shader runs the per-pixel keying math on the GPU, fast enough to keep up with the incoming video frame rate. Running the keying step client-side gives you full control over the scene — backgrounds can be swapped or animated at any point, independent of the avatar session.Why chroma key?
How it works
Start by giving LemonSlice a reference image with a solid lime-green background. LemonSlice animates the avatar against that green and streams the result as a standard WebRTC video track. On the frontend, you draw each incoming frame through a chroma-key pass. Any pixel close to the key color is made transparent. You can then layer that canvas over whatever background you want.The key color you configure in your frontend shader must match the actual background color in your reference image. Sample the exact hex value from the image rather than assuming a standard green — the specific shade matters for clean edges.
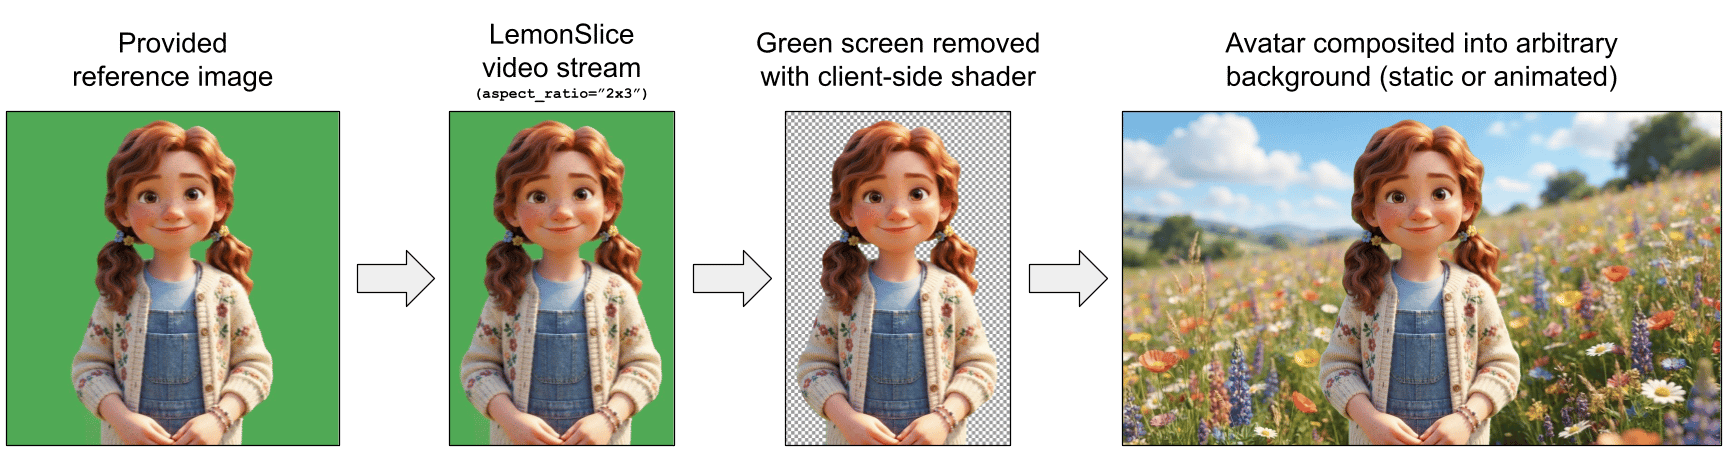
Overview of the green screen compositing process.
No-code green screen editor
To simplify the process of tuning your green screen pipeline, you can experiment with different configuration settings and backgrounds using our built-in editor - no coding required. Watch the tutorial below.End-to-end example: landscape video streams
Vertical aspect ratios generally produce the best results for humanoid avatars — they keep the frame tight on the character and avoid wasting pixels on dead space. But many UIs need to be landscape. Using a green screen allows you to get the best of both: stream a high-quality vertical avatar, then composite it into a 16:9 (or wider) container on the frontend. Our Green Screen + Landscape example repo is a complete Next.js + LiveKit example of this pattern. It includes:- A Python LiveKit Agents worker that requests a
2x3green-screen avatar stream - A WebGL chroma-key renderer with tunable similarity, erosion, and edge feathering parameters
- A looping landscape background MP4 behind the keyed avatar